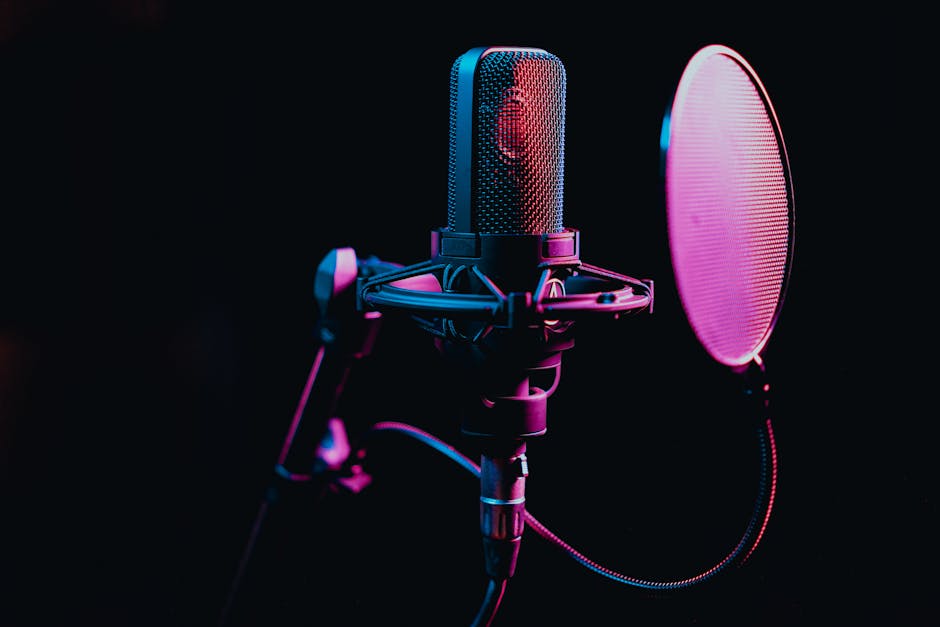
How I Use Smartphone Apps for Quick Podcast Recordings.
How I Use Smartphone Apps for Quick Podcast Recordings
In today’s fast-paced world, inspiration strikes at the most unexpected moments. For a podcaster like me, those fleeting thoughts, spontaneous interviews, or on-the-spot observations can be gold. The idea of carrying bulky recording equipment everywhere is simply impractical. That’s why my smartphone has become my secret weapon, transforming into a portable podcast studio whenever and wherever I need it. This isn’t about producing studio-quality, multi-track masterpieces – it’s about capturing high-quality, usable audio quickly and efficiently. Let me walk you through exactly how I use smartphone apps to make quick podcast recordings a seamless part of my content creation.
My Personal “Why”: Embracing the Mobile Podcast Studio
Why do I lean so heavily on my smartphone for podcast recordings? The answer boils down to three core principles: speed, spontaneity, and accessibility. There have been countless times when a brilliant idea for a segment pops into my head while I’m out walking, or I encounter someone with an incredible story who’s willing to chat for a few minutes. Waiting until I’m back in my dedicated recording space means those moments are often lost or diluted.
My phone is always with me, making it the ultimate grab-and-go solution. It allows me to record high-quality audio without any setup time, complex configurations, or the need for a power outlet. This immediacy is invaluable for capturing authentic soundbites, conducting impromptu interviews, or simply narrating my thoughts as they happen. It’s about leveraging the device I already carry everywhere to extend my podcasting capabilities beyond the confines of a traditional studio.
When My Phone Becomes My Instant Recording Rig
I find my smartphone indispensable for a few specific scenarios. Firstly, for field recordings – think capturing ambient sounds, event atmospheres, or quick vox pops. Secondly, for on-the-spot interviews, especially when I meet someone fascinating unexpectedly. A quick consent, a shared earbud (if I don’t have my mobile mic), and I’m recording. Thirdly, for personal voice notes and segment ideas. Sometimes, I just need to get an idea down with my own voice, and a quick recording is far more effective than typing notes.
The Smartphone Apps That Power My Quick Podcast Workflow
Choosing the right app is paramount for a smooth, quick recording experience. I’ve experimented with several over the years, and my selections are based on reliability, ease of use, and the ability to deliver clean audio without unnecessary fuss. I typically use different apps depending on the specific recording situation, but they all share a common thread: simplicity and effectiveness for quick captures.
My primary go-to app for straightforward, high-quality voice recordings is Voice Memos on iOS (or a similar stock recorder on Android). It’s incredibly simple, always available, and surprisingly capable. For more control and features, especially when I’m attaching an external mic, I turn to more robust options.
My Core App Toolkit for Mobile Podcasting
- Voice Memos (iOS) / Stock Recorder (Android): For the absolute quickest captures. It’s built-in, no downloads needed, and perfect for personal notes or very short snippets. The quality is surprisingly good for basic voice.
- Ferrite Recording Studio (iOS): This is my powerhouse for slightly more involved mobile recordings. It offers multi-track recording, editing capabilities right on the phone, and excellent control over input levels. While it has advanced features, I primarily use its robust recording interface for quick, controlled captures, especially with an external microphone.
- Dolby On (iOS/Android): This app is a game-changer for improving audio quality on the fly. It automatically denoises, equalizes, and sweetens the sound as you record. For environments that aren’t perfectly quiet, or when I just need a quick, polished soundbite, Dolby On is fantastic. It takes some of the post-production load off.
- Anchor by Spotify (iOS/Android): While I don’t use it for my primary recordings, I occasionally use Anchor for quick segments directly within the app, especially if I’m planning to publish directly through their platform. It’s incredibly user-friendly for beginners and makes the entire podcasting process accessible. Anchor by Spotify is a great option for those just starting out or needing a super streamlined approach.
From Idea to Audio: My Step-by-Step Quick Recording Process
My process for quick podcast recordings is designed to be as frictionless as possible. It prioritizes capturing the moment over meticulous setup. Here’s a typical scenario and my approach:
Setting Up for Spontaneity: My Pre-Recording Checks
- Charge Check: Always ensure my phone has ample battery. A dead phone means a lost recording.
- Storage Scan: A quick glance at available storage space. Running out mid-interview is a rookie mistake I try to avoid.
- Quiet Zone (as much as possible): I’ll instinctively seek out the least noisy spot available. Even turning away from a street, stepping into a quieter corner, or finding a wall to reflect sound can make a huge difference.
- External Mic (if available and practical): If I have my small lavalier mic (like a Rode SmartLav+) or a compact shotgun mic (like a Shure MV88) with me, I’ll connect it. This instantly elevates audio quality. If not, I rely on the phone’s internal mic.
Executing the Quick Capture: My Recording Protocol
Once I’m ready, the recording itself is swift:
- Open Preferred App: Usually Voice Memos for speed, or Ferrite/Dolby On if I have a mic and a few extra seconds.
- Test Levels (briefly): I’ll say a few words to check the input levels. Most apps have a visual meter. I aim for levels that are strong but not peaking into the red.
- Hit Record: Simple as that. For interviews, I always ask for consent first and make sure the interviewee is comfortable.
- Monitor (if possible): If I have headphones, I’ll monitor the audio to catch any unexpected issues like wind noise or signal drops.
- Speak Clearly and Close: Whether it’s my own voice or an interview, I ensure the speaker is relatively close to the microphone (or phone mic) for clarity.
- Stop and Save: As soon as the thought is captured or the interview concludes, I stop the recording and ensure it’s saved, often renaming it immediately for easy identification later.
Elevating On-the-Go Audio: My Essential Quality Hacks
Just because it’s a quick recording doesn’t mean it has to sound amateurish. While a smartphone won’t replace a dedicated studio, there are several tricks I employ to maximize the quality of my quick captures.
My Gear and Environmental Adjustments
- The Power of an External Mic: This is arguably the biggest leap in quality. A simple lavalier mic that plugs into your phone’s headphone jack (or Lightning/USB-C port with an adapter) can transform your audio. It gets the mic closer to the source and bypasses the phone’s often inferior internal microphone. When I was researching choosing your first podcast microphone, I specifically looked for portable options.
- Pop Filter Alternatives: For internal mic use, holding the phone slightly below your chin, rather than directly in front of your mouth, can reduce plosives. A thick sock over an external mic can act as a makeshift wind filter in a pinch.
- Strategic Positioning: I try to record in smaller, carpeted rooms rather than large, echoey spaces. Positioning myself near soft furnishings (curtains, couches) helps absorb reflections. If outdoors, I turn my back to the wind.
- Two-Phone Method for Interviews: If I’m doing an interview and only have one external mic, I’ll often record myself on one phone (with the mic) and the interviewee on another phone (using its internal mic, held close). This gives me two separate tracks to work with, offering more flexibility in post-production.


Post Comment