How I Set Up My Home Podcast Studio on a Budget (my Essential Gear).
How I Set Up My Home Podcast Studio on a Budget (my Essential Gear)
Starting a podcast can feel like a daunting and expensive endeavor. Visions of soundproofed booths, high-end microphones, and complex mixing boards often lead aspiring podcasters to believe it’s out of reach. Trust me, I’ve been there. When I first decided to launch my own show, my bank account certainly didn’t match my ambition. But I was determined. I spent countless hours researching, comparing, and testing, all with one goal in mind: to build a functional, high-quality home podcast studio without emptying my wallet. This isn’t about cutting corners on quality, but rather making smart, informed choices. If you’re wondering how to get started without breaking the bank, let me walk you through exactly how I set up my home podcast studio on a budget, detailing every piece of essential gear that made it possible.
My Blueprint for Budget Podcasting: The Initial Room Scan and Mindset Shift
Before buying a single piece of equipment, my first step was to thoroughly assess my recording environment and adopt a “budget-first” mindset. This wasn’t about finding the cheapest items, but the best value for money – gear that delivers professional-enough quality without premium price tags. I knew my spare bedroom wasn’t a professional recording studio, but I could optimize it.
Finding My “Sweet Spot” in a Noisy World
I started by identifying the quietest corner in my home. For me, that was a small spare bedroom. I paid attention to external noise sources: traffic, barking dogs, the hum of my computer, even the refrigerator. My goal was to minimize these as much as possible before any audio even hit the microphone. I chose a spot away from windows and exterior walls, if possible, and definitely not next to the laundry room or kitchen!
Next, I considered the room’s acoustics. Small, empty rooms tend to have a lot of echo and reverb, making voices sound hollow and unprofessional. My bedroom, thankfully, had some natural dampening from a bed, a bookshelf, and a thick rug. These existing elements were my first line of defense against unwanted reflections.
Setting a Realistic, Yet Lean, Budget
My budget wasn’t a fixed number but a flexible guideline. I aimed for under $200-$250 for all essential hardware, knowing I could leverage free software. This forced me to prioritize ruthlessly. What was absolutely essential for clear, understandable audio? Microphone, interface, headphones. Everything else was secondary or a DIY project. This mindset shift was crucial; it kept me from getting sidetracked by flashy gear I didn’t truly need.
My Pick for Crystal Clear Audio: The Microphone and Its Sidekicks
The microphone is undeniably the most critical piece of gear for a podcaster. It’s the gateway for your voice to reach your listeners. For a budget setup, I bypassed the allure of expensive condenser mics and opted for a reliable dynamic microphone. Here’s why and what I chose.

The Dynamic Mic That Won My Heart (and Saved My Wallet)
I chose a dynamic microphone, specifically the Behringer XM8500. Why dynamic? They are fantastic at rejecting background noise, which is invaluable in an untreated home environment. They’re also incredibly durable and often much more affordable than their condenser counterparts. The XM8500 is often lauded as a fantastic Shure SM58 alternative, delivering surprising clarity and warmth for its price point. It connects via an XLR cable, which is the professional standard and signals better signal integrity than USB mics, in my opinion.
- My Essential Microphone: Behringer XM8500 (or similar budget dynamic mic like the Samson Q2U if you prefer USB/XLR versatility).
- Why I Chose It: Excellent noise rejection, robust build, warm vocal tone, unbeatable price for performance.
Essential Mic Accessories Without Breaking the Bank
A good microphone is only part of the equation. A few inexpensive accessories can dramatically improve your sound quality and recording experience.
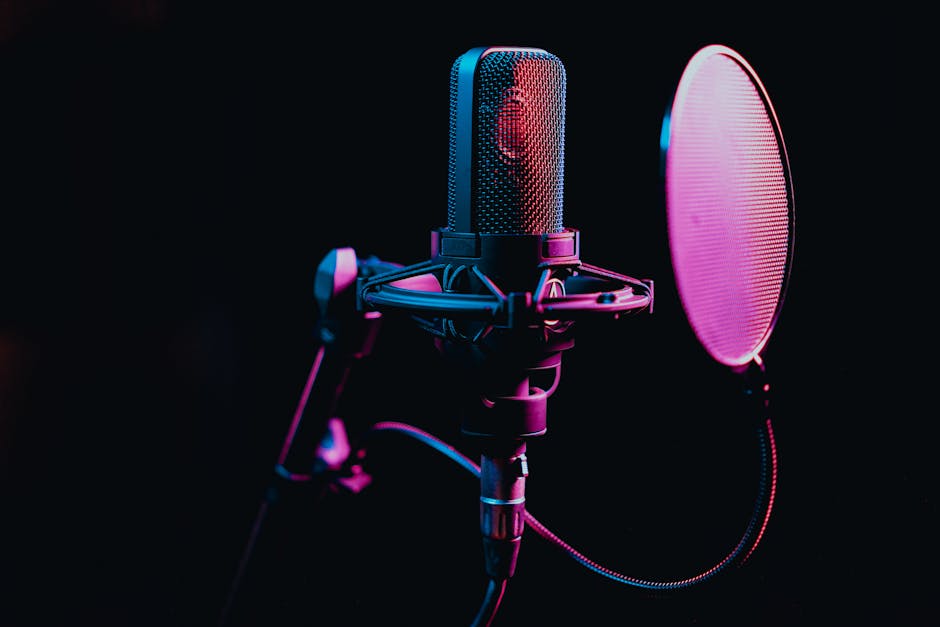
- Pop Filter: This is a non-negotiable item. It costs less than $10-$15 and eliminates harsh “plosive” sounds (P’s and B’s) that can ruin a recording. It sits between you and the mic.
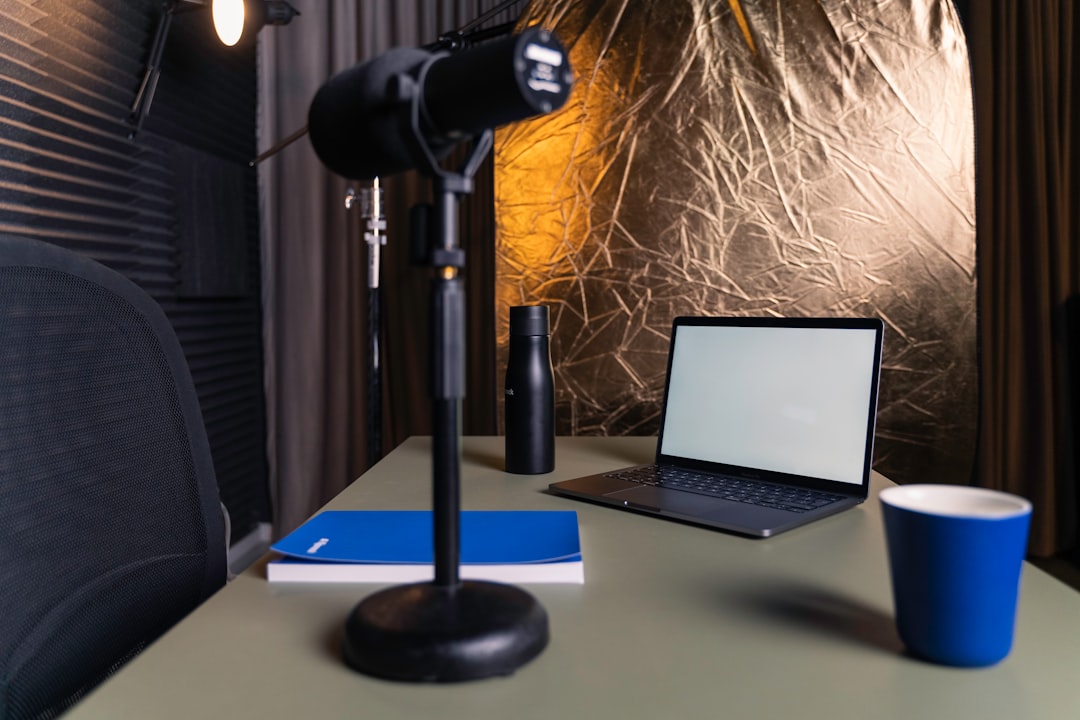
- Mic Stand: Holding a mic introduces handling noise. A sturdy desktop mic stand or an articulating boom arm keeps the mic steady and at the optimal distance from your mouth. I started with a simple desktop stand and later upgraded to a cheap boom arm for better positioning flexibility.
- XLR Cable: If you go with an XLR dynamic mic, you’ll need one. Don’t overspend; a basic, shielded 6-10 foot cable is perfectly fine.
These small investments round out the microphone setup, ensuring a cleaner, more consistent vocal recording. For more on mic choices, check out our guide on Choosing Your First Podcast Microphone.
Connecting It All: My Affordable Audio Interface and Monitoring Setup
With an XLR microphone, you can’t just plug it into your computer. You need an audio interface. This device converts the analog signal from your microphone into a digital signal your computer can understand, and it often provides phantom power (if needed for some mics, though not my dynamic one) and headphone monitoring.
The Heart of My Home Studio: A Simple Audio Interface
My choice was the Behringer UMC22. It’s a fantastic entry-level interface, often available for under $60-$80. It has one XLR input, which is all I needed for my solo podcast. It also features a headphone jack with direct monitoring, allowing me to hear myself in real-time without any distracting lag (latency). This is crucial for performance and catching any audio issues as they happen.
- My Essential Audio Interface: Behringer UMC22 (or Focusrite Scarlett Solo if budget allows a slight bump).
- Why I Chose It: Affordable, reliable, provides phantom power (useful for future upgrades), direct monitoring, good preamps for the price.
Monitoring My Sound: Closed-Back Headphones Are a Must
Forget fancy studio monitors for now. For budget podcasting, a good pair of closed-back headphones is far more important. They prevent your microphone from picking up what you’re listening to, which can cause annoying echo or feedback. I used a pair of Audio-Technica ATH-M20x headphones. They’re comfortable for long sessions, provide good isolation, and offer a relatively flat frequency response, meaning I hear my audio accurately.
- My Essential Headphones: Audio-Technica ATH-M20x (or Sony MDR-7506 if you find a good deal).
- Why I Chose Them: Excellent sound isolation, comfortable, accurate sound reproduction for mixing and monitoring, durable.
Taming the Room: DIY Acoustic Hacks and Soundproofing on a Shoestring
Even the best microphone will sound bad in a poorly treated room. My budget didn’t allow for professional acoustic panels, so I got creative. This is where the “home” in “home studio” really shines.
My “Blanket Fort” Approach to Sound Treatment
The biggest enemy of good audio in a home studio is reverb and echo. Sound waves bounce off hard, flat surfaces, creating an unpleasant, hollow sound. My solution? Soft furnishings and textiles. I hung thick moving blankets (available cheaply online or at hardware stores) behind my recording spot. I also positioned my desk facing a wall with a bookshelf, using the books as natural diffusers. If you have extra duvets or thick curtains, these can also work wonders.
- DIY Acoustic Treatment: Thick moving blankets, heavy curtains, duvets, pillows, bookshelves filled with books, area rugs.
- Placement Strategy: Aim to break up parallel surfaces (walls facing each other) and dampen reflections behind and to the sides of your microphone.
I didn’t try to “soundproof” my room entirely, as that’s a much more expensive and involved process. Instead, I focused on “sound treating” it – absorbing reflections to improve the clarity of my voice. For more in-depth tips, check out our guide on


Post Comment