How I Set Up Remote Interviews with Guests (my Software and Workflow).

How I Set Up Remote Interviews with Guests (My Software and Workflow)
In today’s interconnected world, remote interviews have become an indispensable tool for content creators, podcasters, journalists, and businesses alike. The ability to connect with experts and fascinating individuals from anywhere on the globe has revolutionized how we gather insights and share stories. However, moving from a simple video call to a professional-grade remote interview requires a thoughtful approach to software, hardware, and a meticulously planned workflow. After years of trial and error, I’ve refined my own system to consistently produce high-quality remote interviews with guests. This isn’t just about picking tools; it’s about integrating them into a seamless process that prioritizes both guest experience and final output quality. Let me walk you through my exact setup, the software I swear by, and the workflow that makes it all happen.
My System for Inviting and Onboarding Guests Smoothly
The success of any remote interview begins long before the record button is pressed. It starts with the initial outreach and ensuring your guest feels supported and prepared. My goal here is always to minimize friction and maximize clarity, making the process as effortless as possible for them.
Streamlining Guest Invites and Scheduling with Automation
My first step in the workflow is always about efficiency in scheduling. I use Calendly for all my guest bookings. It’s an absolute game-changer. Instead of endless back-and-forth emails trying to find a mutual time, I send a personalized Calendly link. This link is set up with specific availability slots tailored for interviews, automatically accounting for time zones. This eliminates scheduling headaches entirely.
When a guest selects a time, Calendly automatically sends out a confirmation email. But I don’t stop there. I customize these emails extensively to include all the vital information they’ll need: the date and time, a clear link to our recording platform (more on that in a moment), and a brief overview of what to expect. Crucially, I also include a very simple, bullet-pointed guide on how to prepare for a remote interview from their end.
Pre-Interview Prep: Equipping Guests for Recording Success
To ensure the highest quality possible, I believe in empowering my guests with simple, actionable advice. My customized Calendly confirmation email, and a follow-up email sent a few days before the interview, contains these key preparation tips:
- Use a Headset or Headphones: This dramatically reduces echo and improves audio clarity. I emphasize that even basic earbuds are better than relying on laptop speakers and microphone.
- Find a Quiet Space: I suggest they choose a room where they won’t be interrupted and where background noise is minimal.
- Good Lighting: Facing a window or a soft light source is ideal for video. I advise against having a bright light source directly behind them.
- Stable Internet Connection: I recommend connecting via Ethernet if possible, or at least being close to their Wi-Fi router.
- Close Unnecessary Apps: To prevent distractions and conserve bandwidth.
- Test Their Microphone and Camera: I provide a simple instruction to do a quick check on their chosen platform beforehand.
I frame these tips not as demands, but as suggestions to help us create the best possible conversation. This proactive approach significantly reduces technical issues during the actual recording session.

My Core Recording Platform and Hardware Choices for Crisp Audio and Video
This is where the rubber meets the road. The choice of recording software and supporting hardware is paramount for capturing professional-grade audio and video. I’ve experimented with several options, and my current setup balances ease of use for guests with high-fidelity output for my content.
Choosing the Primary Remote Recording Platform
While Zoom is excellent for general meetings, for dedicated, high-quality remote interviews, I’ve standardized on Riverside.fm. Here’s why it’s my go-to:
- Local Recording: This is its killer feature. Riverside records each participant’s audio and video locally on their computer, then uploads it to the cloud. This means the quality isn’t dependent on internet bandwidth during the call itself. Even if a guest’s internet briefly drops, their locally recorded track remains pristine.
- Separate Tracks: I get separate audio and video tracks for myself and each guest. This is absolutely crucial for post-production, allowing me to edit each person independently, balance volumes, remove background noise from one track without affecting others, and cut out stutters or interruptions seamlessly.
- Ease of Use for Guests: Guests simply click a link, enter their name, and join. There’s no software to download (it runs in the browser), which significantly lowers the barrier to entry.
- High-Quality Output: It records up to 4K video and WAV audio, providing excellent raw material for editing.
Riverside.fm handles the heavy lifting of recording, allowing me to focus entirely on the conversation.
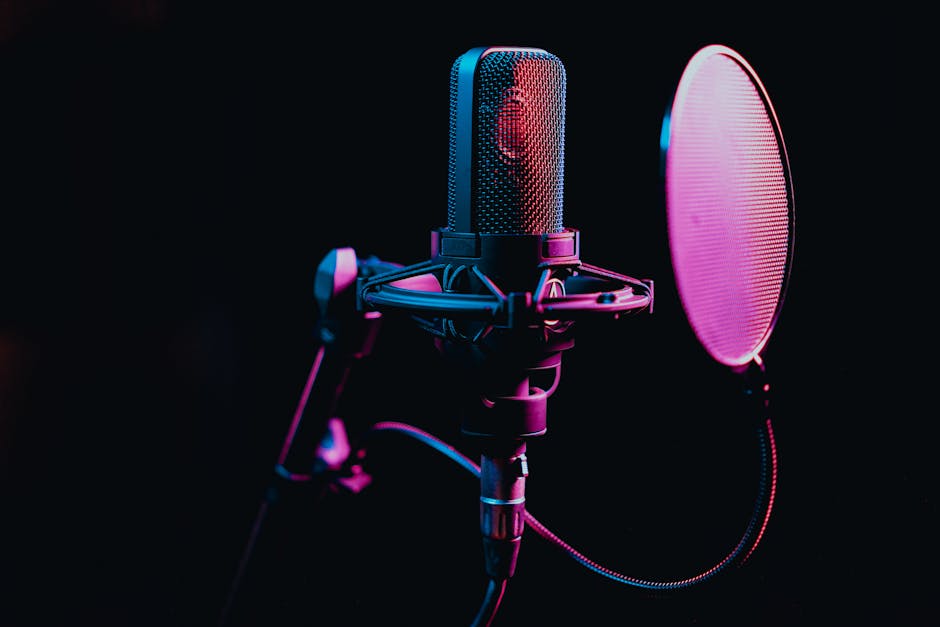
Enhancing Audio Quality: My Microphone and Settings
Achieving crisp, clear audio is paramount for any interview. My personal setup involves a few key pieces of hardware:
- Microphone: Rode NT-USB Mini. This USB microphone offers excellent sound quality for its price point and is incredibly easy to set up. It’s a condenser mic, meaning it picks up a lot of detail, which is great for voices.
- Headphones: Sony MDR-7506. These are industry-standard closed-back headphones. They prevent my microphone from picking up an echo of my guest’s voice, which is critical for clean audio.
- Pop Filter: An inexpensive but essential accessory that sits between me and the microphone to prevent harsh “P” and “B” sounds (plosives).
My Software Audio Settings: Within Riverside.fm (and even Zoom if I’m using it for a quick chat), I always ensure the correct microphone and headphone inputs/outputs are selected. I also make sure any built-in noise suppression features are either off or set to a minimal level on the recording platform itself, as I prefer to handle noise reduction more precisely in post-production. This preserves the raw audio quality as much as possible.
My Playbook for a Seamless Live Interview Session
With the scheduling done and the tech stack ready, the actual interview session needs careful management to ensure a smooth, engaging conversation and a clean recording. My workflow during the live session focuses on putting the guest at ease and maintaining technical stability.
The Pre-Call Tech Check and Welcome Ritual
About 5-10 minutes before the scheduled start time, I connect to the Riverside.fm studio. When my guest joins, the first few minutes are dedicated to a friendly welcome and a quick tech check. I ask them:
- “Can you hear me clearly?”
- “Can you see me clearly?”
- “Are you using headphones?” (A gentle reminder if they aren’t).
- “Could you do a quick soundcheck for me? Just count to three.” This allows me to verify their microphone is working and get a quick read on their audio levels.
I also briefly explain the recording process – that it’s being recorded locally for best quality and that they don’t need to worry about internet glitches. This often alleviates any anxiety about technical performance. I also use this time to reiterate the interview topic and structure, ensuring we’re both on the same page.
For me, establishing a warm, professional rapport at the outset is just as important as the technical checks. It sets a comfortable tone for the entire conversation. You can learn more about Mastering Your Interview Introductions here.
Managing the Live Session Flow and Recording
Once we’re ready, I hit

Post Comment