My Guide to Mastering Noise Reduction Techniques in Podcast Production.
My Guide to Mastering Noise Reduction Techniques in Podcast Production
There’s a silent killer lurking in many podcasts, subtly undermining even the most compelling content: noise. Whether it’s a persistent hum, an irritating hiss, the echo of an untreated room, or the sudden rumble of traffic outside, unwanted sounds can quickly drive listeners away. As someone who has spent countless hours refining podcast audio, I understand the frustration and the relentless pursuit of pristine sound. This isn’t just about making your podcast sound “good”; it’s about making it sound professional, engaging, and utterly listenable. In this comprehensive guide, I’m sharing my tried-and-true methods, personal workflows, and the philosophies I’ve developed to master noise reduction, transforming noisy recordings into crystal-clear audio masterpieces. Let’s dive into making your podcast sound as polished as your content.
Unmasking the Culprits: Identifying Your Podcast’s Sonic Intruders
Before you can effectively reduce noise, you must first understand what you’re up against. Noise isn’t a monolithic entity; it comes in many forms, each requiring a different approach. My first step in any noise reduction journey is always meticulous identification. Think of yourself as a sonic detective, listening for clues.
The Spectrum of Unwanted Sounds I Encounter
- Broadband Noise: This is the general “whoosh” or “hiss” present across a wide range of frequencies. It could be microphone self-noise, preamp hiss, or even ambient room noise from a computer fan or air conditioning. It often has a consistent character, making it a prime target for subtractive noise reduction.
- Hum: Often a low-frequency buzz (50Hz or 60Hz depending on your region) caused by electrical interference from power cables, ground loops, or faulty equipment. This type of noise is characterized by its distinct harmonic series, meaning you’ll hear the fundamental frequency (e.g., 60Hz) and its multiples (120Hz, 180Hz, etc.).
- Room Tone/Reverb: The natural sound of your recording space. If untreated, it can manifest as an echo, hollowness, or a sense of “distance” from the microphone. While room tone itself isn’t always bad (a little can make audio sound natural), excessive reverb or an unpleasant room tone can make your podcast sound amateurish.
- Clicks, Pops, and Mouth Noises: These are transient sounds – lip smacks, tongue clicks, plosives (P’s and B’s that “pop” the mic), and even headphone bleed. These are often sharp, short bursts of sound that are very distracting to the listener.
- External Intrusions: Traffic, sirens, barking dogs, construction, noisy neighbors – sounds from outside your controlled environment. These are often unpredictable and can range from low-frequency rumbles to high-frequency chirps.
My Method for Pinpointing Noise with Precision
I always begin with critical listening. Don a good pair of headphones and listen intently to sections where no one is speaking, or during quiet pauses. What do you hear? Is it constant or intermittent? Does it have a specific pitch or character? Does it disappear when you unplug certain equipment? Beyond just listening, I leverage visual tools:
- Spectrograms: Most modern DAWs (Digital Audio Workstations) and specialized noise reduction software offer a spectrogram view. This visual representation of frequency over time is invaluable. A constant hum will appear as a bright horizontal line at a specific frequency (or multiple lines for harmonics). Hiss will look like a broad, even blanket of color across a wide frequency range. Clicks and pops show up as short, vertical spikes. Learning to “read” a spectrogram is like gaining x-ray vision into your audio, allowing you to visually identify and often even pinpoint the exact location and frequency of a specific noise.
- Frequency Analyzers: These tools show you the frequency content of your audio in real-time. They can help confirm the exact frequency of a hum, identify resonant frequencies in your room, or show you where broadband noise is most prominent. For instance, if you see a significant spike around 60Hz and its harmonics, you’ve likely identified an electrical hum.
By accurately identifying the type and source of noise, I can then select the most effective techniques for reduction, rather than blindly applying generic filters that might damage the audio quality. This targeted approach is key to preserving the naturalness and integrity of your voice recordings.
My Proactive Playbook: Silencing Noise at the Source Before You Hit Record
This is arguably the most crucial chapter in my guide. The best noise reduction technique isn’t a fancy plugin; it’s preventing the noise from being recorded in the first place. You can’t polish a turd, as they say, and you can only fix so much in post-production without degrading your audio. My proactive playbook focuses on creating the cleanest possible recording environment.
The Power of Your Recording Environment: My Sanctuary Setup
Your recording space is your first and most effective noise gate. I’ve learned that investing time here saves countless hours later.
- Acoustic Treatment: This doesn’t have to mean a professional studio. Even a spare bedroom can be transformed. I use a combination of acoustic panels (DIY or bought), heavy blankets, duvets, and even clothes in a closet to absorb reflections and reduce reverb. The goal is to make the room sound “dead” or “dry,” so your voice is the dominant sound, not the room’s echo. Placing absorption at first reflection points (where sound bounces from your mouth to a wall and then to the mic) is particularly effective. Even simple measures like closing windows and doors can significantly reduce external noise bleed. For more detailed guidance on setting up your space, I recommend exploring resources on optimizing your podcast recording space.
Microphone Selection & Placement: Your First Line of Defense
The microphone you choose and how you use it profoundly impacts how much noise your recording captures.
- Dynamic vs. Condenser: For untreated or noisy environments, I often lean towards dynamic microphones (like the Shure SM7B or Rode Procaster). They are generally less sensitive than condenser mics, meaning they pick up less ambient room noise. Condensers, while offering superb detail, can be unforgiving in a noisy space. For insights on making the right choice, check out my guide on choosing the right podcast microphone.
- Polar Patterns: Understanding your mic’s polar pattern is crucial. Cardioid patterns, for instance, pick up sound primarily from the front, rejecting much from the sides and rear. Hypercardioid and supercardioid patterns offer even tighter rejection, making them excellent for isolating a single voice in a less-than-ideal room.
- Proximity and Placement: Get close to your microphone! The “proximity effect” not only enriches your voice but also ensures your voice signal is significantly louder than any background noise. Aim for 4-6 inches from the mic. Using a pop filter is also essential to prevent plosives (those harsh ‘P’ and ‘B’ sounds) from overloading the microphone capsule.
Taming Electrical Interference: The Silent Hum Killer
Electrical hums (typically 50Hz or 60Hz) are insidious because they are often deeply embedded in the recording. Prevention is paramount.
- Ground Loops: These are a common culprit. They occur when different pieces of audio equipment are connected to different power outlets, creating conflicting ground potentials. My solution usually involves plugging all audio equipment (computer, interface, monitor speakers) into a single, high-quality power strip or surge protector.
- Cable Management: Keep audio cables away from power cables. Running them parallel can induce hum. Crossing them at 90-degree angles is better. Invest in good quality, shielded XLR cables.
- Power Off Unnecessary Electronics: Turn off lights with dimmers, fluorescent lights, refrigerators, fans, and anything else generating an electromagnetic field near your recording setup. Even cell phones too close to your mic can introduce interference.
Optimizing Your Computer & Gear: Reducing Internal Noise
Your recording equipment itself can be a source of noise.
- Computer Fan Noise: If your computer fan is loud, try to move the computer further away from the microphone or place it under a desk. Some podcasters even record in a separate room, running long cables.
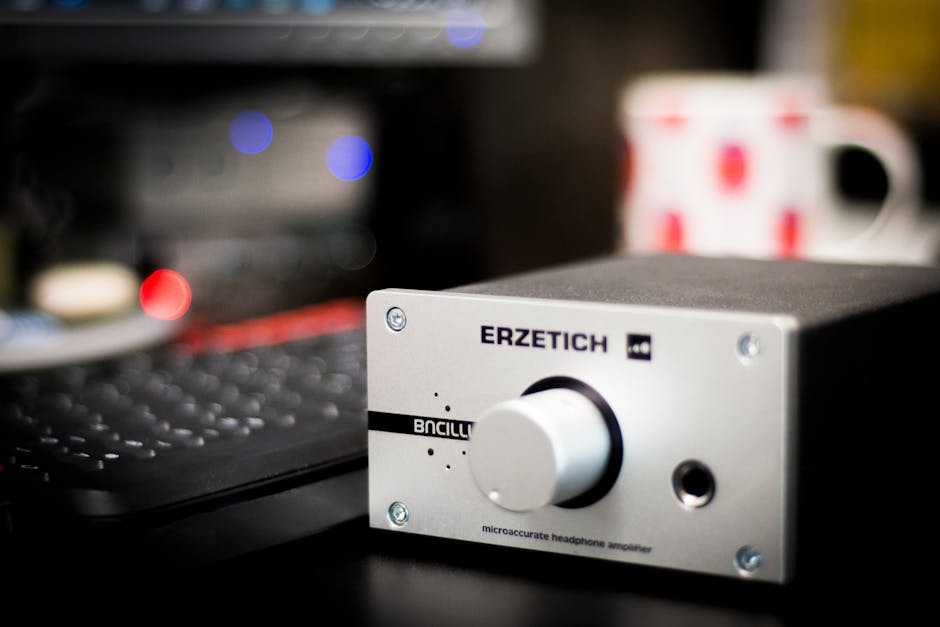
- External Audio Interfaces: Using a dedicated audio interface with good preamps (rather than your computer’s built-in sound card) will significantly reduce self-noise and provide a cleaner signal. Ensure your gain staging is correct – aim for a healthy signal level without clipping, as recording too quietly will necessitate boosting in post, amplifying any existing noise.
- Headphone Bleed: If you’re recording with open-back headphones, sound can leak from them into your microphone. Always use closed-back headphones for recording.
By diligently implementing these proactive measures, you


Post Comment